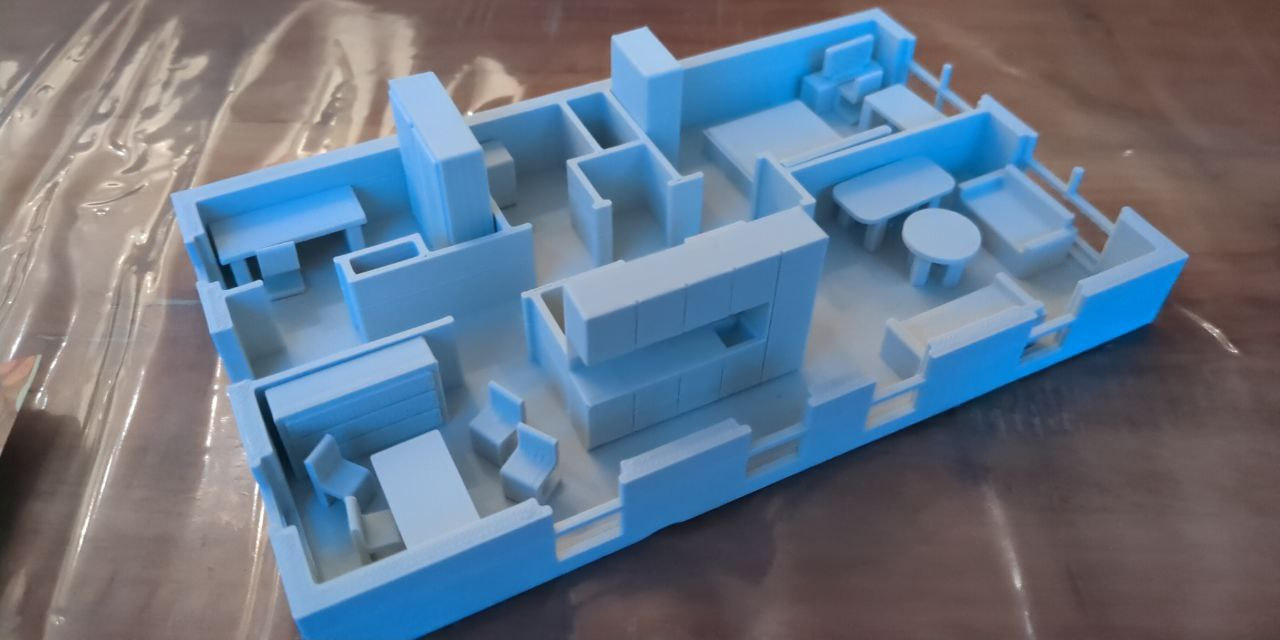
Today’s quick post will give you reproducible steps to create a scale model of your home or apartment. I was inspired to create a few scale models as some of my friends have bought an apartment this year and I was looking for unique secret Santa gifts. Having a scale model with scale furniture helps visualize the space and helps you create a floor plan before you get the keys to your new house or apartment.
Design considerations
There are a few things you can think about to make the scale model fit your expectations. For example, half height walls will make it easier to put little furniture inside. Also, the way windows and doors are modeled can have an impact on the durability of the model.
In my case, I have chosen to model everything at 1/10th the real size. Because a house is significantly larger than a 3D printer print bed, modeling it with real dimensions would result in a scaling factor in the slicing software of around 1%. This is tricky, can lose small details and might make for thin and vulnerable walls.
I made my first model with walls at a third of the normal height. This is a good height in my opinion, but part of the window frames and front door were not connected at the top. This makes the window frames fragile and I would recommend connecting them at the top to improve the strength of the model. The next models I made also had taller outer walls with complete window frames, which further improved the model rigidity. Increasing the wall height has only little impact on the printing time as the most time is spent making the floor or bottom of the model.
Modeling instructions for Onshape
By following these instructions you get a scale model at scale 1:10.
- Create a new sketch in the XY plane and draw the outer walls. Dimension them using the real measurement divided by 10 to get a model at scale 1:10.
- Create another sketch in the XY plane and draw the inner walls. Dimension them using the real measurement divided by 10 to get a model at scale 1:10.
- Use the thin extrude function to extrude the outer walls with thickness 1 set to 26mm. By only setting thickness 1, we ensure the area remains the same as in the floor plan. Use a depth of around 200mm.
- Use the thin extrude function to extrude all the vertical inner walls with thickness 1 and 2 both set to 5mm. Use a depth of around 160mm. We extrude the inner walls with two operations, because the thin extrude operation can not handle Y or T sections of walls.
- Use the thin extrude function to extrude all the horizontal inner walls with thickness 1 and 2 both set to 5mm. Use a depth of around 160mm.
- Create some sketches on the inner walls to create the doors. My doors are 91mm wide. Use the extrude remove operation up to next or blind.
- Create some sketches on the outer walls to create the windows. You can use a couple extrude remove operations to create the windows, windowsills and frames. You can select a sketch and copy paste it to create more windows.
- Create a new sketch in the XY plane to create a floor. Use the line or rectangle tool to make sure it covers all the walls.
- Extrude the floor with a depth of around 12mm.
- If you have more than one body in the project, you can use the boolean union operation to combine all the parts into a single body.
- Export the body as a .stl file.
- Import the .stl file in your slicer. Scale the model to fit your build plate. In my case I went with 16% for a total scale of 1:62.5.
- You are now ready to print.
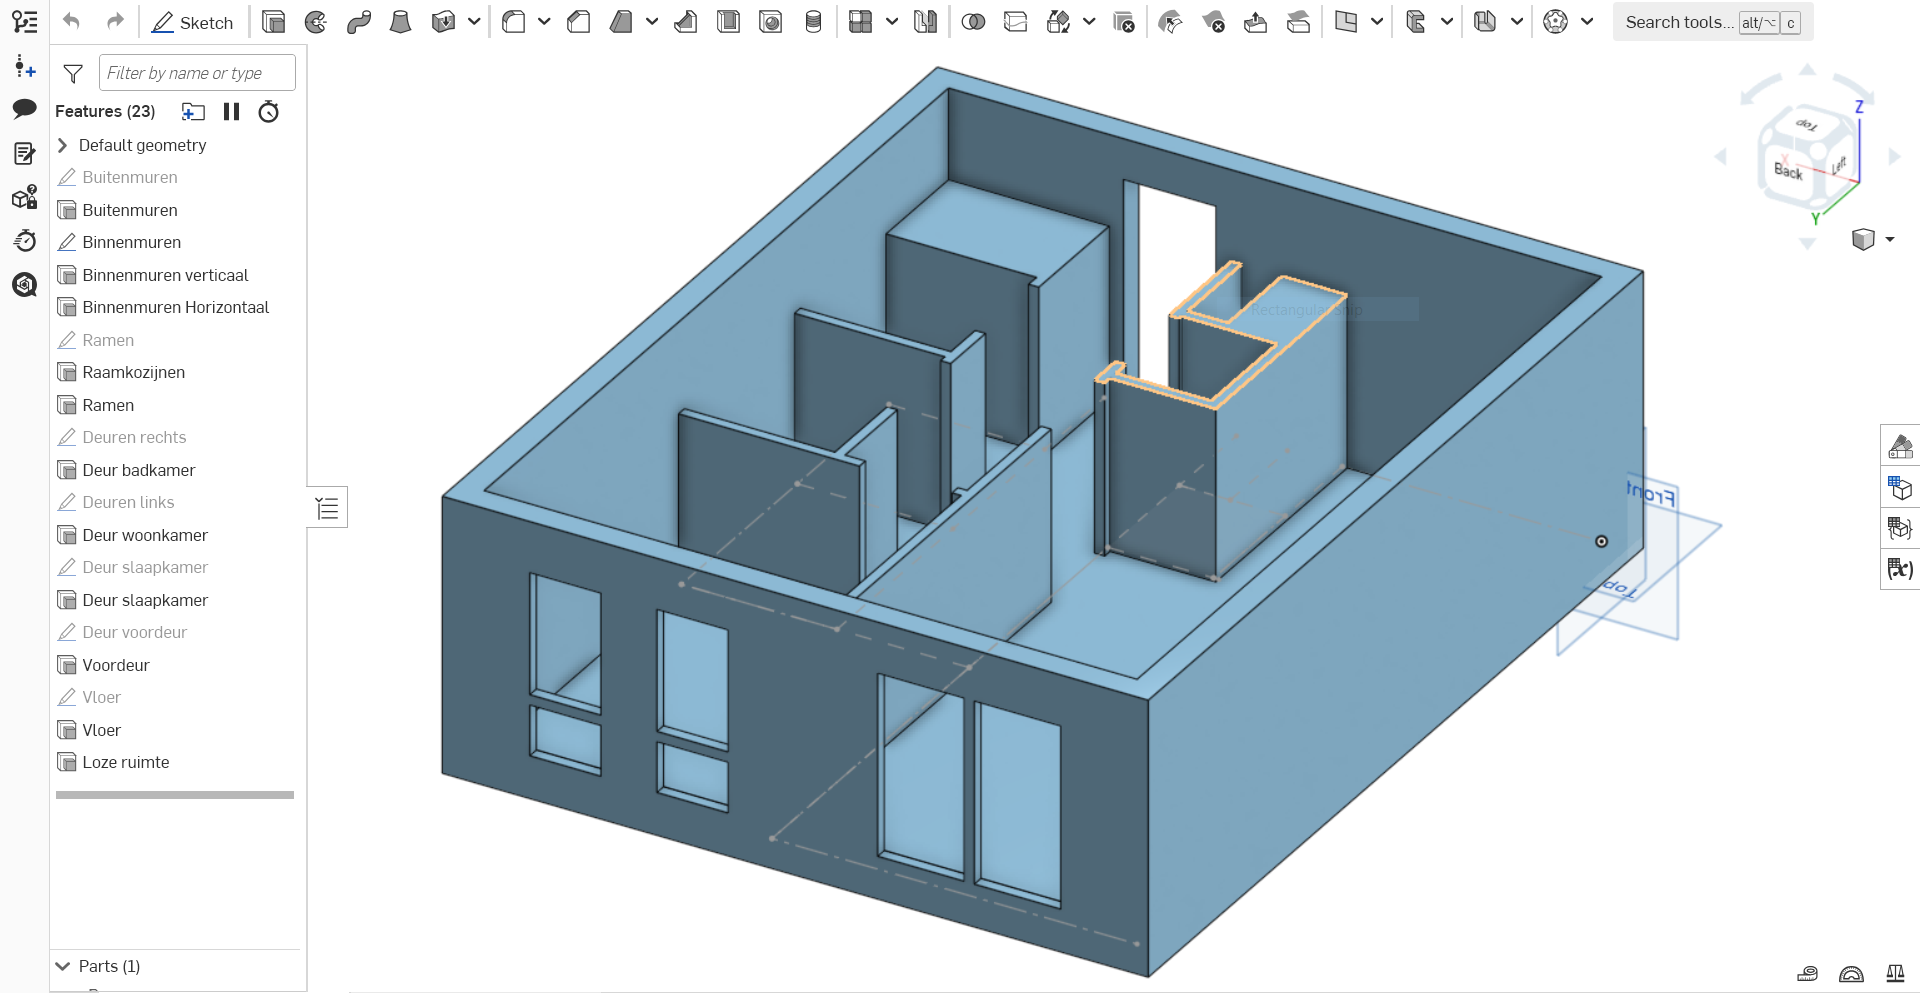
Below I have included an example of how the Onshape interface will look like after following the steps. Note how the front door and window frames have a solid bar across them to improve the strength of the model.
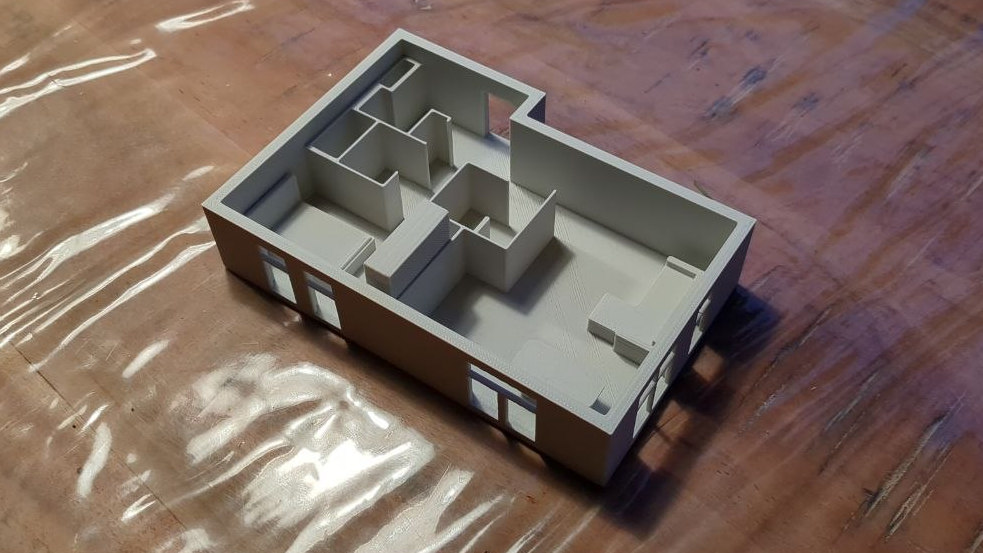
This is another example of how the model can look after 3D printing.
Scale model furniture
To bring the model to live, I have also modeled and printed some furniture. Most of it is from IKEA, but I also measured some other pieces from other stores. Feel free to take these models and print them. You can click the model and download the .stl directly. Printing is best done with the same scaling percentage as used for the house or apartment itself.
- King Sized Bed (IDANÄS)
- Queen Sized Bed (IDANÄS)
- Small Double Sized Bed (IDANÄS)
- Dining Table (LISABO)
- Dining Table (TARSELE)
- Dining Table Extended (TARSELE)
- Dining Table (VOXLOV)
- Dining Table (VIHALS)
- Dining Chair (type A)
- Dining Chair (type B)
- Closet (PAX)
- Closet (VISTHUS)
- Closet (BRIMNES)
- Couch with 2 Seats (KIVIK)
- Couch with 3 Seats (KIVIK)
- Couch with Corner Seats (KIVIK)
- Television Stand
- Washing Machine
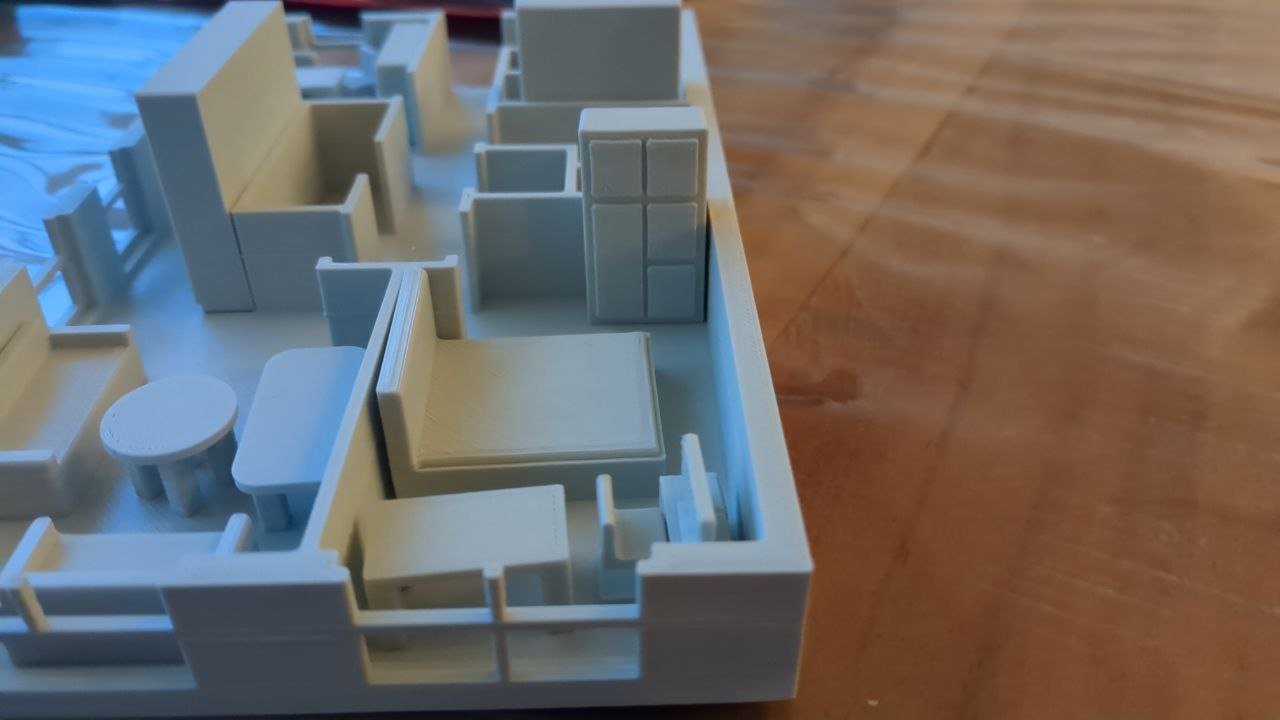
When putting it all together, it will look something like this. In the following close up photo, the queen sized bed, Visthus closet and Tarsele table are displayed.
Closing Thoughts
The scale models are a big hit with friends and family and not that hard to make once you get the hang of it. If you print more than one in the same scale, you can reuse the furniture and play around a bit. The printing time can be quite long depending on your model as the first few layers are usually printed at reduced speed and our floor is relatively big and solid.